Sunday, June 21, 2015

VEGETABLE ADAI - SAVORY INDIAN LENTIL PANCAKE

We can't live without vegetables; when I say this statement it includes both DH and Jr.H along with me.  I go mad when veggies are out of stock in refrigerator.  Every weekend, we go to market place and buy the fresh veggies for the whole week.  This is a dedicated family time for us and we love to spend time with one other.  We also take Jr.H ever since his childhood and I ask him to choose veggies of his choice.  Eventually, this has made Jr.H to try eating different veggies.  He gets very excited when I say him that I am going to prepare the vegetable that he has chosen for the family.  He never omits any vegetable that is kept on his plate and I strongly have a feel that this is because of the responsibility given to him for choosing the vegetables. 

Most of my dishes would include sneaking in maximum vegetables as I always have a feel that vegetarians get less energy than meat eaters.  This recipe is my mom's signature dish.  When someone comes to our home and the first thing they ask my mom to prepare is this dish; "Vegetable Adai".  My mom is the best cook I have ever seen and whatever she touches becomes delectable.  When she comes to my home and when I cook for her, I sometimes madly call her to kitchen and ask her to touch the vessel and she will smile in proud and pat me :-). 


This recipe is called "Adai"  and it is made of lentils and rice.  It is a savory Indian lentil pancake, an "extended family of dosai". A very nutritious dish can be made in many variations.  I added vegetables to make it more colorful and healthier.  I never make Adai without adding vegetables.  Addition of grated beets gives subtle sweetness which can be felt at the last portion of every bite.


Ingredients: 
Idly rice - 1.5 cups
Raw rice - 0.5 cup
Bengal gram - 1/4 cup
Toor dhal - 6 tsp
Urad dhal - 4 tsp
Chickpea - 10
Asafoetida powder - 1 tsp
Red chillies - 8-10
Salt - To taste
Vegetables - 2 cups (grated carrot, beet, thinly sliced onion, cabbage, and finely chopped cliantaro and curry leaves)  
Oil - as needed

Preparation:
1. Wash and soak rice and lentils separately for 3 hours.
 

2. Grind red chillies, salt, asafoetida powder, and lentils to a smooth mixture.  Transfer the contents to a vessel.
 

3. Grind rice to a coarse mixture and add to the already ground lentil mixture.

4.  Meanwhile, grate beet and carrot and finely chop cabbage, onion, coriander/cliantaro and curry leaves.
5.  Add to the ground mixture and mix well.  Add little water if the mixture is too thick.
 

6.  In dosa pan, pour a ladle full of batter and make small hole in the middle and pour little oil around and in the middle hole.  Let it get cooked for sometime.  Flip over and cook the other side too until golden brown. 


 7.  I make variations by making five holes around the side and this makes it more crisper. 
8. Serve this Adai with butter or aviyal.  I usually won't prepare anything for side dish as I already have added vegetables and this can be eaten as such.

Saturday, June 13, 2015

CHETTINAD KARAMANI KUZHAMBU/ BLACK EYED COWPEAS COOKED IN THIN TAMARIND SAUCE

Being a pure vegetarian, I make sure my family gets all the nutrients   in the form of lentils, legumes, fruits, vegetables, greens, etc.  As anything from legume family is healthful, at least once in week I try to include legumes in meal.  I have derived this habit from my Mom.  She is a perfect planner as far as the meal is concerned and  is very careful in feeding a complete nutritious food prepared from her kitchen. 

When I say this, my mind runs back to my childhood days where we were just a small monthly income based middle class family.  When fathers goes outside to work for bread and butter,  Mom took care of the complete household works.  She goes to market, prepares food, does the cleaning stuff, spends time with us, spends time for herself with her friends; indeed a perfect planner.  She is too old today and every single wrinkle of her denotes her dedication for the family.    


This recipe is made of boiled black-eyed cowpeas in thin tamarind sauce adding necessary spice powders.  I have seen both white eyed and black-eyed cowpeas but I read in somewhere that black-eyed cowpeas are having more nutrients than white ones, they are rich in protein, a healthy alternate to meat or other animal protein.  I learnt this recipe from DH who hails from Chettinad.  Chettinad is a region in the southern part of Tamilnadu and it is known for its delectable cuisine.  I like the way when DH describes how the food needs to be cooked though he never enters the kitchen or indulge in cooking.  


Preparation:
Black-eyed cowpeas - 2 cups
Onion - 2 (cut in thin slice)
Tomato - 2
Garlic pods - few
Drumstick/Moringa  -  10 pieces (Cut into 2" length)
Brinjal/Eggplant - 4
Small lemon sized tamarind (Soaked in warm water) or Tamarind Sauce
Sambar powder - 2 tablespoon
Salt  - To taste

To Temper:
Mustard seeds
Fenugreek seeds
Bengal gram dhal
Curry leaves
Red chilly -2

Preparation:
1. Dry roast black-eyed cowpeas until a nice aroma comes out of it.  Pressure cook then for 3 whistles with little water and salt.  Take care not to make it mushy, else it will spoil the taste and look of the dish.
 

 2. In a thick bottomed pan, add little oil, throw in the tempering ingredients one by one.  Then add onion and tomato. 
 

3.  Once the tomatoes have turned mushy,  add the cut vegetables (drumstick and brinjal), add necessary salt.  At this stage, add the sambar powder and mix well. 
 

4.  Adding the powder at this stage will bring a nice color to the dish.  Sambar powder can be replaced with red chilli powder and dhaniya powder.  As I prepare homemade sambar powder, I prefer to use that.
5.  Meanwhile extract the juice from the soaked tamarind pulp.  
 6. Add the extracted tamarind sauce to the vegetable .  Transfer the contents to a vessel and let this boil until the vegetables are cooked well.

7.  Add boiled blacked eyed cowpeas to the gravy and let it boil for another 5 minutes.  Switch off the stove and serve this with cooked rice.  


8. Switch off the stove and serve this with cooked rice. 

Sunday, June 7, 2015

AUTHENTIC IYENGAR THAYIR VADAI - INDIAN LENTIL DONUT DIPPED IN PLAIN YOGURT SAUCE

Ahh, it's quite difficult to name a traditional dish relating to an International cuisine :-).  I have quite a few nonIndian friends who gives private comments to my every post asking about Indian cuisine.  I am equally excited and thrilled to narrate about the ingredients and methodology about Indian cooking and I would love to do that.  Vadai is a deep fried donut-shaped snack prepared from a soaked and ground white lentil (ural dhal).   They are crispier on outside and soft on inside.  This can be used as a snack or as a side dish for the main course.  

I hail from a traditional South Indian Brahmin family and thayir vadai is one of the mandatory item served in the plate on any ceremony among my household.   There are zillion different methods to make these vadas but I am going to share the authentic way of preparing thayir vadai which is followed among my family household.


Ingredients:
Urad dhal (white lentil) - 1.5 cup
Green chillies - 3
Curd (plain yogurt) - 2 cups
Salt - To taste

To grind:
Coconut - 4 tsp
Ginger - 1/2 inch piece
Green chillies - 2 or 3

To temper:
Mustard seeds - 1 tsp
Curry leaves -few
Asafoetida powder - 1/4 tsp

To garnish:
Bhoondi - As needed 
Coriander leaves 

Preparation:
1.  Soak urad dhal for 1 hour and grind smoothly with green chillies and salt in the food processor.  This is the careful step in getting softer vadas.  The batter should be in the texture of butter.  If you grind the batter in grinder, you would get a butter-like texture and large volume.  For elaborate steps on making soft vadas, refer the following link - medhu-vada


2.  Keep a bowl of water in a vessel.  Wet your hands and take the medium ball sized batter and place it on a plastic sheet.  Pat the batter slightly and make a hole in the center.

3. In a heavy bottomed pan, heat oil.  Once the oil is hot, drop the vada carefully and keep the flame in medium.  Add 2-3 more vadas to the oil.
 

4. Flip it over after 2-3 minutes and fry it until golden brown.  Do it for the rest of the remaining batter.


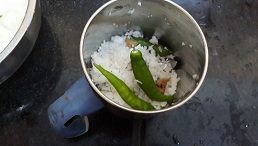
5. Meanwhile, grind coconut, green chillies, ginger together. 

6. Whisk the curd/plain yogurt in a hand beater and add salt and ground mixture to it.  Temper it with mustard seeds, curry leaves, and asofoetida.
 

7.  Immerse the fried vadas to the curd mixture.  
 

8. Garnish with boondi (I used Haldiram boondi mixture which I got from store) and coriander leaves.  You can also add grated carrots but as the guests were waiting at the dining table, I didn't do it.


Note:

The softness of the vadas entirely depends on how well the batter is ground.  So it is important to give attention during grinding the batter to a butter like texture. 


Monday, June 1, 2015

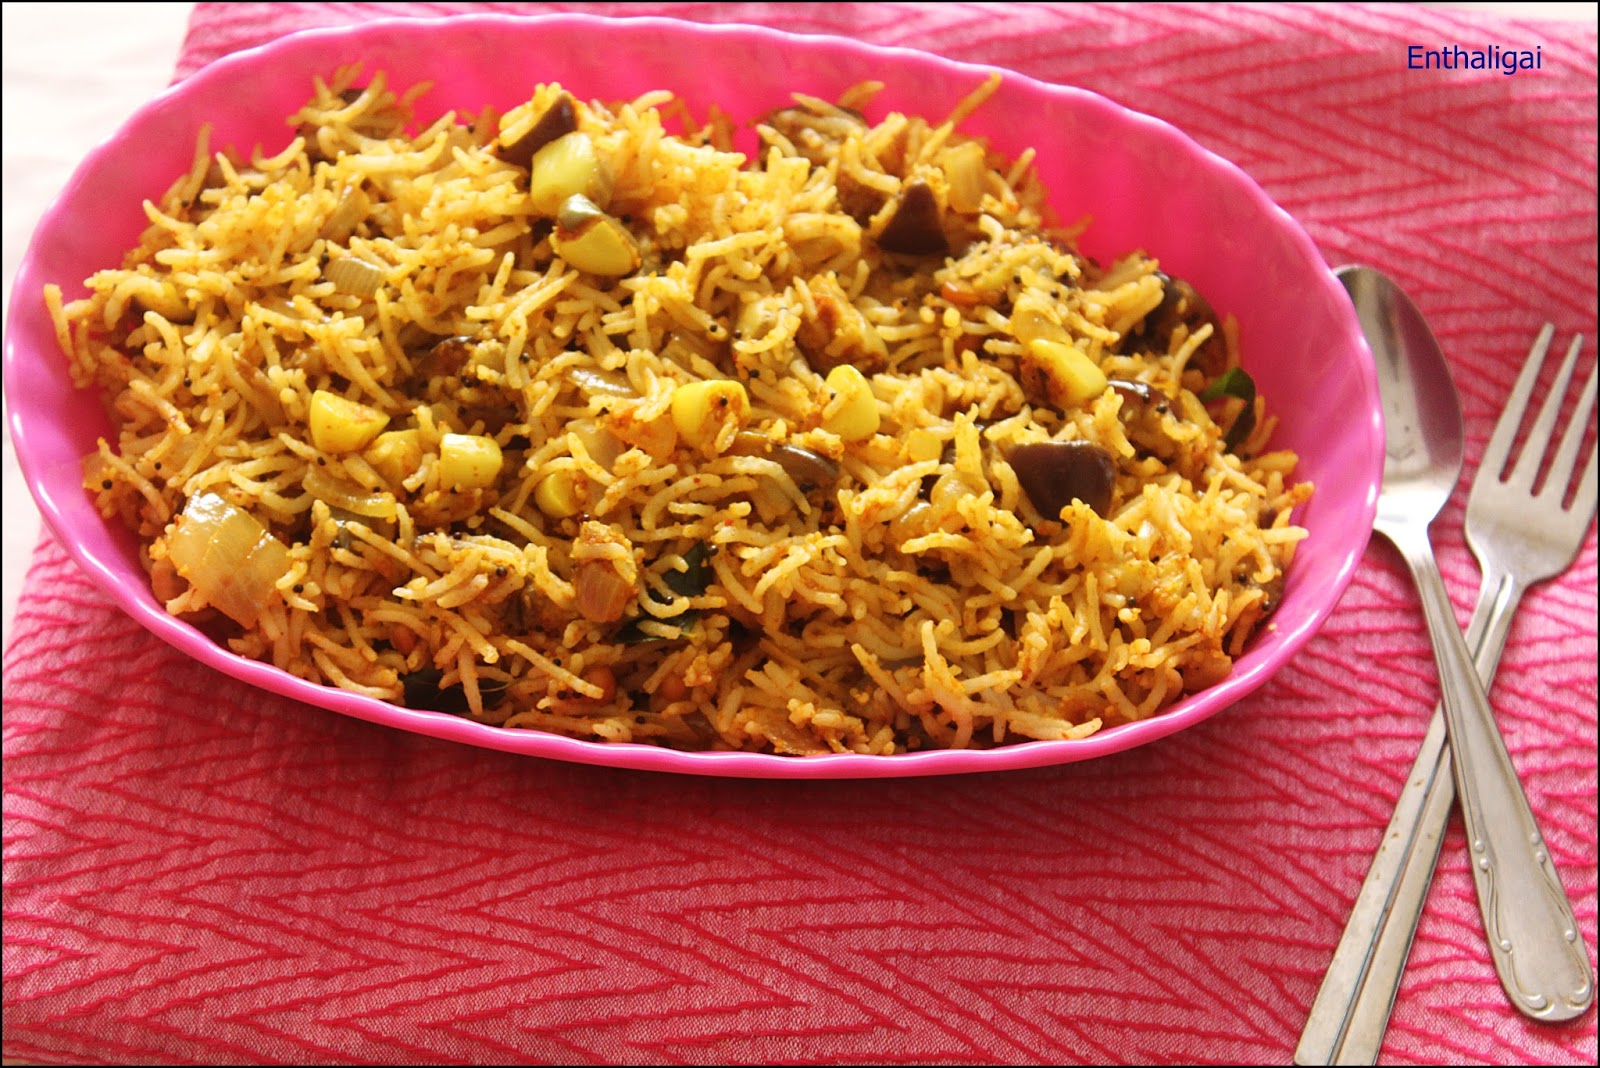
VANGIBHAT - INDIAN SPICED EGGPLANT RICE

In India, we get many variations of eggplants both in color and in sizes.  However be, both myself and Jr.H are very fond of this brinjal.   I wasn't very fond of this vegetable until my middle age and later there was a change in tastebud and I started liking this veggie.  But Jr. H never gave me any such trouble ever since his childhood.  That is the best thing I love in him.  But certain veggies are his favorites and he quickly finishes the plate and ask for the next serving.  Brinjal is one among in that favorite list. 

Moving quickly onto the recipe, this brinjal rice which is popularly called as Vangibhat in India is a traditional recipe among South Indians.  The brinjal is cooked with freshly ground spices which adds an additional aroma to the dish.  This is one of the lunchbox meal which I regularly prepare for Jr.H.  As school starts reopening in the latter part of this week after summer holidays, Jr.H and his friends wanted to have a get together celebration at home.  I prepared this flavorful dish and kids liked it very much.


Ingredients:
Basmatic rice/Raw rice (Cooked) - 1.5 cup
Brinjal/eggplant - 1/2 kg
Onion - 1 big size (optional)
Garlic pods - 5 (optional)
Turmeric powder -1/2 tsp
Chilly powder - 1/4 tsp
Vangibhat powder - 3 tsp
Salt - To taste
Ghee - 1 tsp

To Temper:
Mustard seeds - 1 tsp
Urad dhal - 1/2 tsp
Bengal gram - 1/2 tsp
Curry leaves - few

To make the Vangibath Powder:  Dry roast the below ingredients and powder it.  You can make in larger quantities and store for a month. This can be brought in Indian store as well.

Asafoetida – a small piece
Red chilies – 8-10 (adjust according to your spiciness level)
Bengal gram – 4 tsp
Urad dal – 4 tsp 
Coriander seeds/dhaniya – 4 tsp
Peppercorns - few

Preparation:

1.  Soak basmati rice for 10 minutes and pressure cook for 2 whistles.  You can use normal rice too but as always the long grain basmati rice gives a super look touch and taste to any dish.
    
2.  Wash the brinjals and cut into smaller cubes as shown below.  Usually, vegetables are washed before cutting but certain vegetables like brinjal are cut and put in the water.  This is because when the cut brinjals are exposed to air, it changes the color to black and turn bitter to taste.
 

3. Chop the onion as shown below.  If you want to use garlic, chop in to smaller pieces.

4. Make the vangibhat powder by dry roasting the spices.

5. In a heavy bottomed vessel/pan, add oil, thrown in the tempering agents one by one.  Add onion and garlic pods. 


6. When the onions have turned slightly brown, add the cut brinjals removing the water.  Throw in turmeric powder and required salt.  Cook in medium flame by giving twists and turns.
 

7. When the brinjal gets cooked fully, add the vangibhat powder and chilly powder.  You can omit chilly powder if you want the hotness in medium range.  Keep in flame until the powder gets blend with the vegetable.  As soon as you have added vangibhat powder, a nice aroma fills in the place and you would be definitely asked by someone as what you are cooking!!!
 

8.  Add the cooked basmati rice to the cooked brinjal mixture, add a tsp of ghee, and mix gently.


9.  Now, the aromatic brinjal rice is ready to serve.  Can be served with any raita/plain yogurt with mild salt.  I prepared boondhi raita to attract the kids :-).